Milky, sheer and jelly: the quiet luxury of translucent nails
Why translucent manicures look so polished, how milky, sheer and jelly finishes differ and how to apply them without streaks.
Translucent nails have a particular kind of polish. They do not cover the nail so much as refine it, letting a hint of the natural nail show through a veil of colour. The result looks expensive in a quiet way: neat, healthy and never fussy. Getting there, though, takes a little more technique than it seems, because sheer colour shows every stroke.
Milky, sheer and jelly: the differences
The three names are often used loosely, but they describe different finishes, and knowing which one you want makes choosing a shade much easier.
- Milky: a translucent milky white that softens the nail like frosted glass.
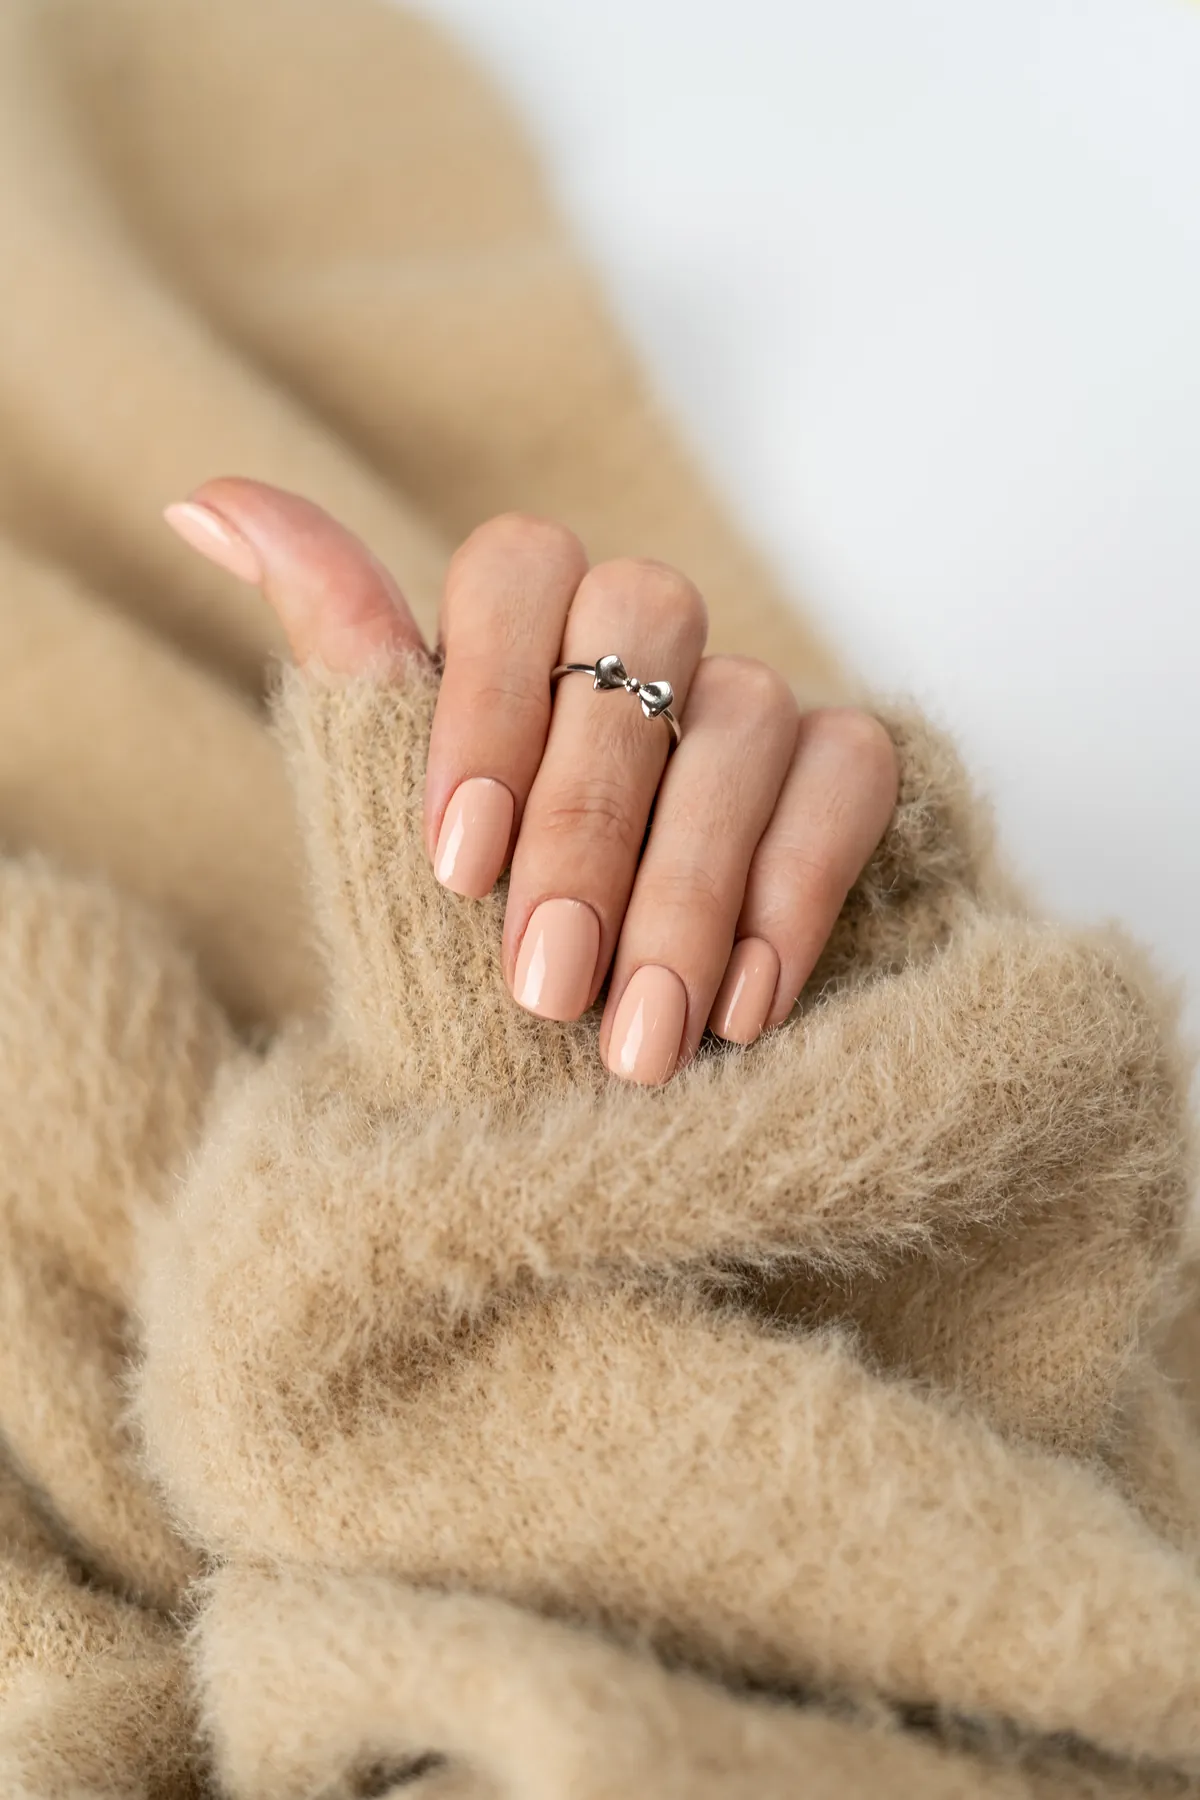
- Sheer: translucent pinks or nudes that even out the tone of the nail while letting it show.
- Jelly: a glassy, see-through finish with more colour, closer to stained glass or boiled sweets.
Milky and sheer shades stay close to the natural nail. Jelly is bolder: it carries real colour, from soft rose to deep berry or bright citrus, yet it keeps the transparency that makes the whole category so appealing. Light passes through it, so even a strong shade looks fresh rather than heavy.
Why translucent nails are so easy to live with
The appeal is practical as much as aesthetic. Because the colour is soft and see-through, the grow-out is gentle: new growth at the cuticle blends in instead of showing as a hard line. Small chips are less visible too, which helps a translucent manicure look fresh for longer.
These finishes are low maintenance and suit any length, from very short natural nails to long extensions. They also sit comfortably in most workplaces, which is one reason they appeal to anyone who wants nails that look cared for rather than decorated.
The result looks expensive in a quiet way: neat, healthy and never fussy.
Layering controls the result
With translucent colour, the number of coats is your main tool. One coat looks natural, with the nail clearly visible beneath. Two or three coats look more opaque, building a creamier milk or a deeper tint. Decide in advance how much of the nail you want to show, then layer towards it rather than past it.
Keep in mind that the nail itself becomes part of the colour. Any unevenness in tone will show through a single coat, so if your nails are not perfectly even, a second or third coat may suit you better. The free edge shows through as well: under a single coat of milky colour, a pale free edge reads as a soft, natural French, while further coats blur it away.
Choosing the right shade
Because translucent colour mixes with what lies beneath, the same bottle can look different on two people. Swatch a shade on your own nail before committing, and judge it in daylight, since artificial light can change how sheer colour reads.
A milky white that leans slightly pink or warm usually looks softer next to the skin than a cool, stark white. Sheer nudes work best when they sit close to the colour of your nail bed, only a little more even. For jelly shades, decide first whether you want a light wash of colour or a deeper, stained-glass effect, then let the number of coats follow that choice.
How to apply without streaks
Streaks are the classic problem with sheer formulas, because every brushstroke can show through. The answer is technique, not more product.
- Start with a clean, dry nail and a thin layer of base coat.
- Load the brush lightly, so it carries just enough colour for one nail.
- Place the brush near the cuticle and let it glide lightly towards the tip, first down the centre, then along each side.
- Keep every coat thin, and let it settle before adding the next.
- Finish with top coat, running the brush along the free edge to seal it.
Streaks are avoided with thin coats and a brush that glides lightly over the nail rather than pressing into it. Pressure pushes the colour aside and leaves visible tracks, while a light touch lets the formula level itself.
In salons, a tinted or is often used for the same look. These products give the nail a smooth, even surface and a soft translucent tint in one step, which can be easier to keep streak free than several coats of polish. Each layer is cured under a lamp, so the finish stays glassy and even.
Ways to dress it up
Translucent nails are a quiet backdrop, which makes them ideal for small details. A tip adds definition without breaking the calm. A single small dot near the cuticle gives a hint of art. A pearl chrome glaze turns a milky base into something softly luminous, the effect that made glazed nails so popular.
Whatever you add, keep it light. The charm of a translucent manicure lies in restraint, and the most beautiful versions look as if they took no effort at all.
Glossary
- Milky nails
- A manicure in a translucent milky white that softens the nail without fully covering it.
- Jelly polish
- A polish with a glassy, see-through finish and more colour than a sheer shade.
- Rubber base
- A flexible gel base, often tinted, used in salons to smooth the nail and give translucent colour.
- Builder base gel
- A thicker base gel that adds structure and, when tinted, creates a smooth translucent finish.
- Micro French
- A French manicure with a very thin tip line, often paired with milky or sheer bases.
Questions and answers
Do milky and sheer nails suit short nails?
Yes, they suit any length. On short nails, a translucent finish looks especially neat because it keeps the hand light and lets the natural shape of the nail show. Pair it with a round or squoval shape and, if you like a little definition, a micro French tip, which adds structure without making the nail look shorter.
Why does my sheer polish look streaky?
Usually because the coats are too thick or the brush is pressing into the nail. Sheer formulas show every stroke, so load the brush lightly and let it glide from cuticle to tip with very little pressure. Keep each coat thin, let it settle and add a second thin coat rather than working over one that has started to set.
How many coats of milky polish should I apply?
It depends on how much of the natural nail you want to see. One coat looks natural and lets the nail show clearly. Two or three coats look more opaque and give a creamier, more even milk. Build up slowly in thin layers, checking the result in daylight before deciding whether you need another.