Nail art techniques, from dotting to foils
A clear tour of the core techniques, the small kit behind them and the habits that keep fine detail clean and lasting.
Nail art can look intimidating from across a room. Up close, almost every design is built from a handful of techniques: dots, lines, transferred images and effects that spread on their own. Once you know what each method does and which tool it needs, a complicated pattern turns into a calm sequence of small, manageable steps. Here is a tour of the core techniques, the compact kit behind them and the habits that keep fine detail crisp for days rather than hours.
The small kit behind most designs
You do not need a drawer full of gadgets. A considered kit covers nearly every technique in this guide, and each piece has one clear job. Quality matters more than quantity: a single brush that holds its shape will do more for your lines than a dozen that splay after a week.
Add a small dish for remover and a lint-free pad for wiping tools between colours. Cleaning as you go is what separates crisp work from muddy work, and it costs only seconds.
Dots and lines, the freehand foundation
Dotting is where most people begin, and with good reason. Dip the ball of the tool into a small puddle of polish, touch it to the nail and lift straight up. A larger ball gives a larger dot, and re-dipping after every dot or two keeps the sizes even. Dots in a row become borders, clusters become flowers, and gently dragging a fresh dot with the tip of the tool creates hearts and teardrops.
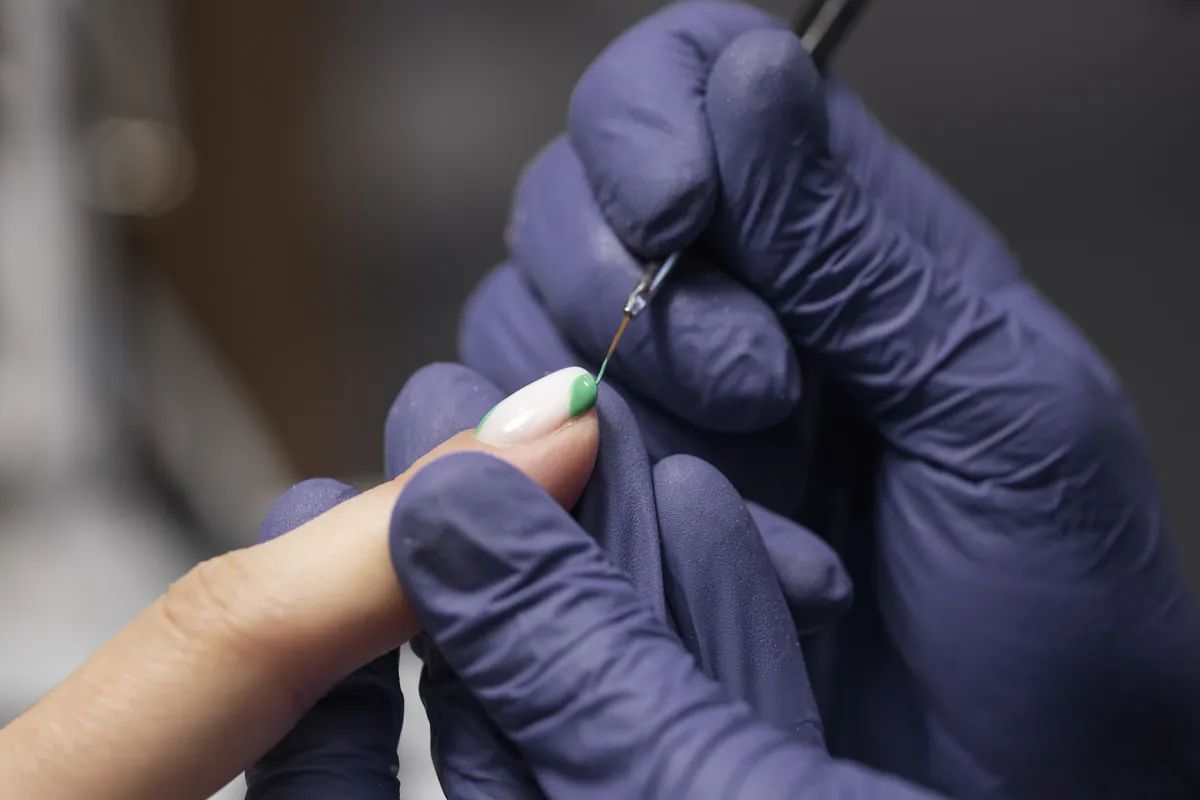
Lines ask for a different touch. A long holds polish along its length, so you can pull one continuous stroke across the nail without stopping to reload. Load it lightly, rest your painting hand on the table or against your other hand, and move from the arm rather than the fingertips. Light pressure gives a hairline, slightly more pressure widens the stroke. The short detail brush takes over for petals, leaves, outlines and tiny lettering, where control matters more than reach.
Cleaning as you go is what separates crisp work from muddy work, and it costs only seconds.
Stamping, decals and foils
When a pattern would take a steady hand hours, transfer techniques step in. Stamping uses a metal plate with designs etched into its surface. Polish is spread over the design and scraped off with a card, leaving colour only in the etched lines. A soft silicone stamper then picks up the design and presses it onto the nail. Stamping polishes are more heavily pigmented than normal polish, which is why even a delicate pattern reads clearly after a single transfer.
- Paint your base colour and let it dry, so the design has a clean background.
- Spread stamping polish over the chosen design on the plate.
- Scrape away the excess with the card in one smooth pass.
- Roll or press the silicone stamper over the design to pick it up.
- Transfer it to the nail, tidy the skin with the clean-up brush and seal with top coat.
Work briskly at the plate, because the thin film of polish starts to dry almost as soon as it is scraped.
Water decals are printed designs on backing paper. You soak one briefly in water, slide it from the paper onto the nail, smooth it into place and seal it with top coat. Transfer foil relies on adhesion instead: the foil is pressed onto a tacky foil adhesive or a sticky gel layer, and when it is lifted away the metallic film stays wherever the surface was tacky. Sealing it afterwards protects the delicate film from wear.
Gel, marble and watercolour effects
Gel changes the rhythm of nail art. With gel products every layer is cured under an LED or UV lamp, so each finished detail is set before you add the next. That makes it possible to build fine linework, layered florals or overlapping shapes without smudging what is already there. Because gel stays workable until it is cured, you can also adjust a line before committing to it.
Some effects are designed to move on their own. Marble and watercolour looks use or alcohol inks, which spread across the base and create soft edges no brush could draw. Drops of colour feather outwards, merge and settle into cloudy, organic shapes. The art lies in restraint: a few drops placed with intention usually look more refined than a nail covered edge to edge. Once you like the pattern, seal it with top coat.
Habits for clean, lasting results
Most smudges and chips come down to a few avoidable habits. The most useful rule is to work in thin layers. Thin layers dry more evenly than thick ones, whereas a heavy coat can stay soft underneath long after the surface feels dry, and a soft layer dents easily.
- Start on clean, dry nails so the base coat grips well.
- Apply colour in thin coats and let each one set before the next.
- Tidy the skin around the nail with the clean-up brush before sealing.
- Seal the by running the top coat brush along the tip, which helps prevent chips.
- Wipe dotting tools and brushes between colours to keep details sharp.
Nail art rewards patience more than talent. Master dots and lines first, add one transfer technique, then experiment with effects. Each method builds on the last, and a simple design done cleanly will always look more considered than a complex one done in a hurry.
Glossary
- Dotting tool
- A handle with a small metal ball at one or both ends, used to place round dots of polish.
- Striping brush
- A long, very thin brush that holds polish along its length for straight lines and long curves.
- Stamping plate
- A metal plate with etched designs that hold polish until a silicone stamper lifts them onto the nail.
- Blooming gel
- A clear gel on which colour spreads outwards, used for soft marble and watercolour effects.
- Free edge
- The part of the nail that extends beyond the fingertip.
Questions and answers
Do I need gel to create nail art at home?
No. Dots, lines, stamping, water decals and many foil designs work well with regular polish, as long as you let each layer set and finish with top coat. Gel becomes useful for very fine, layered detail, because every layer is cured under an LED or UV lamp before the next one goes on, so nothing underneath can smudge.
How do I stop stamped designs from smudging under top coat?
Give the stamped design a short moment to dry, then apply top coat with a generously loaded brush and a very light touch, floating it over the surface rather than pressing it in. Working briskly at the plate helps as well, because stamping polish dries quickly and a film that has started to set tends to transfer unevenly.
Which technique should a beginner learn first?
Start with dotting. It needs only a dotting tool and a couple of polishes, and it teaches you how much polish to pick up and how pressure changes the result. Once your dots look even, move on to lines with a striping brush, then add a transfer method such as stamping or water decals.