Negative space and the art of leaving nails bare
Minimal nail art that turns the bare nail into part of the design, with ideas, techniques and the reasons it suits short nails and busy weeks.
Some of the most striking manicures are defined by what they leave out. nail art treats the bare or clear nail as a colour in its own right, so a single line, a dot or a sliver of polish can carry the whole design. It is minimal without being plain, it rewards precision more than effort, and it fits into a busy week with ease.
What negative space means on a nail
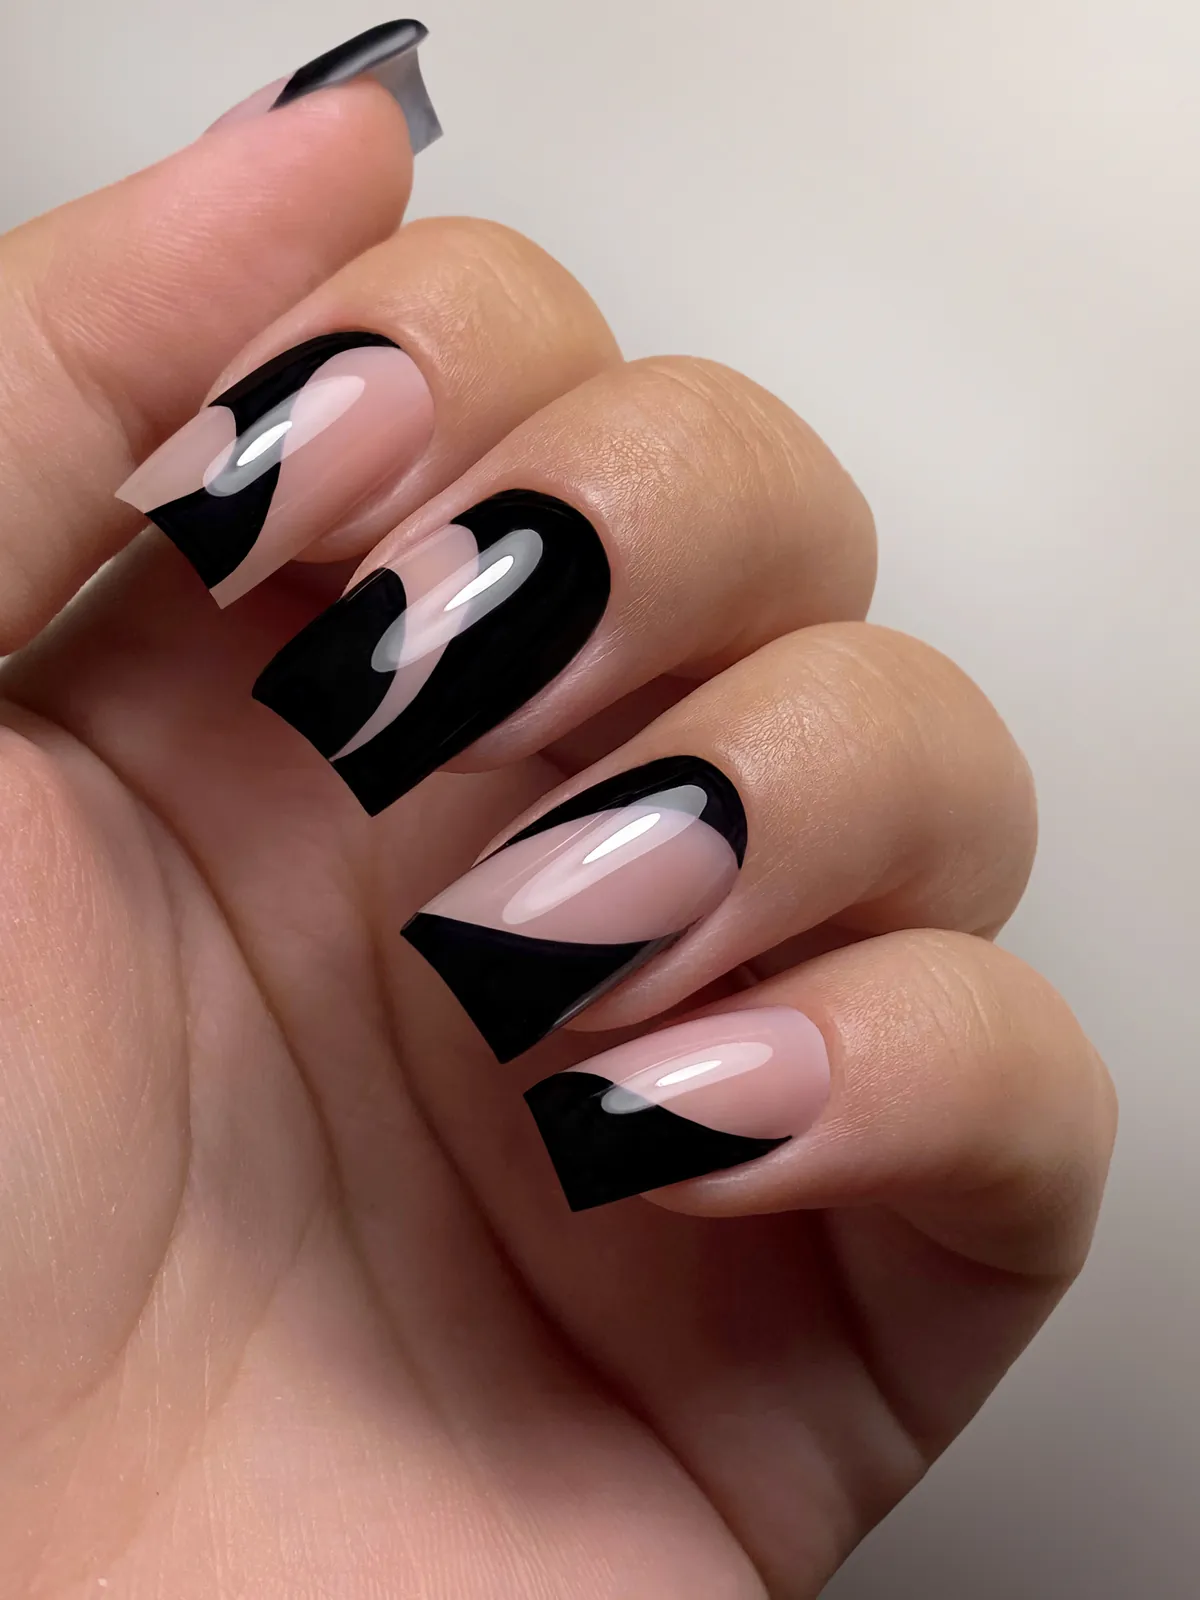
The term comes from art and design, where negative space is the area around and between the subject. On a nail, it means leaving parts of the surface bare or clear, so the natural nail becomes part of the composition. The painted areas draw the eye, and the unpainted ones give them room to breathe. In practice, that can be as small as a single dot or as bold as a nail split diagonally into colour and clear.
The idea is older than it looks. The moon manicure, which left the half moon at the base of the nail unpainted, was popular in the 1920s and 1930s. That half moon has a name: the , the whitish crescent at the base of the nail, which is the visible part of the . Today’s designs play with the same area in sharper, more graphic ways.
Why less works so well
Negative space designs are as practical as they are pretty. Because so much of the nail stays bare, regrowth at the cuticle is far less visible than with a full coat of colour. There is no sudden band of bare nail at the base, simply a little more of what was already part of the design.
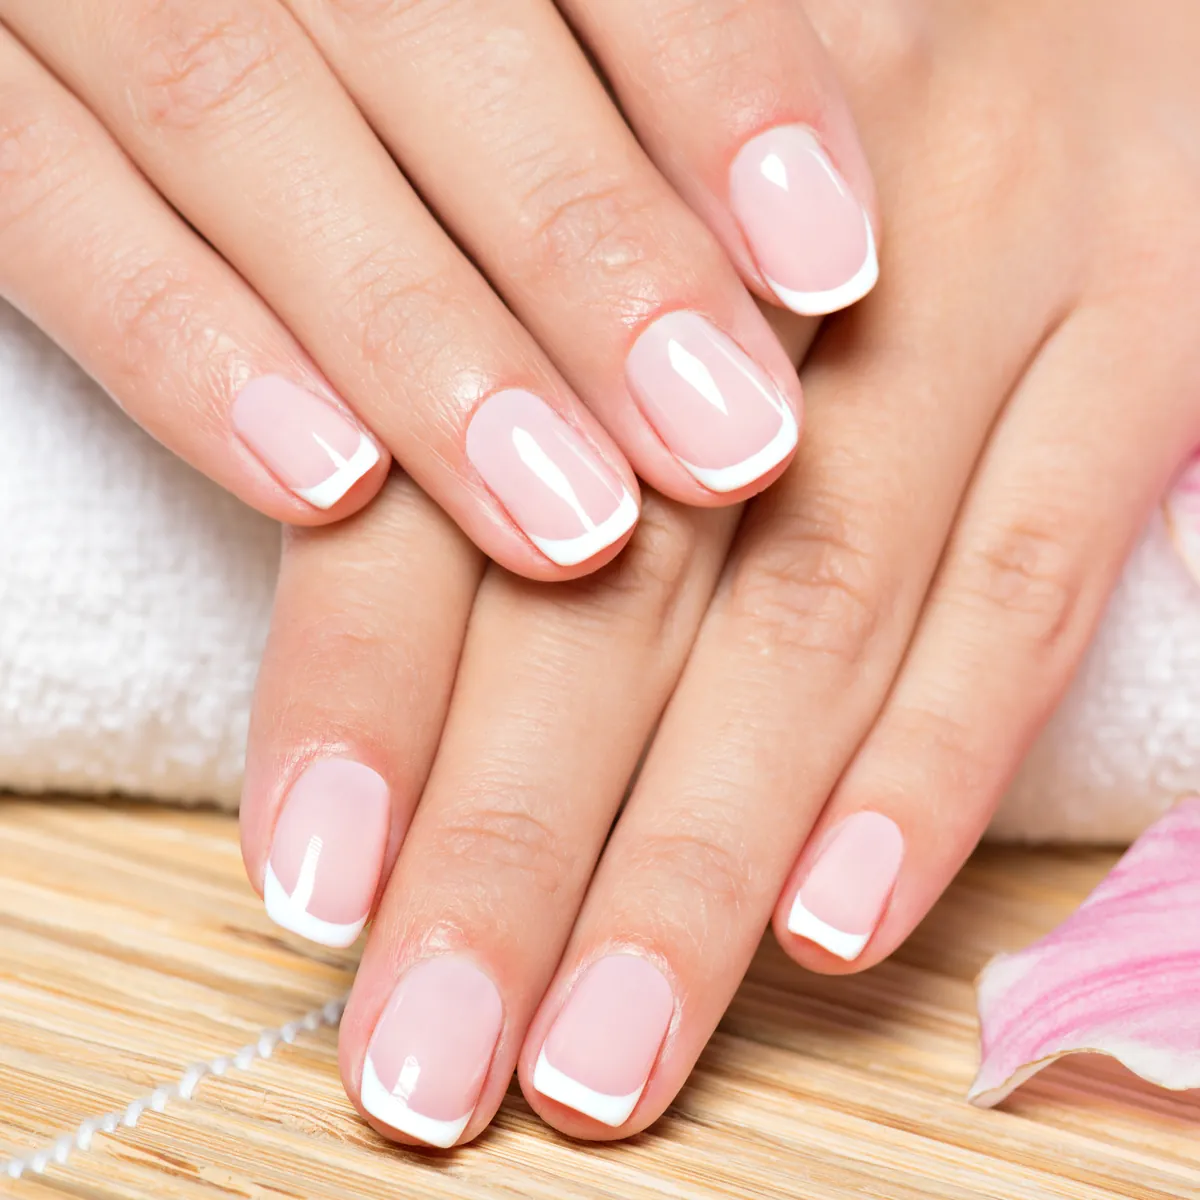
There is an aesthetic case too. Short nails can look crowded under heavy art, but a few precise marks on a clear base keep them light and well proportioned. The designs are quick to paint, and their quiet character suits many workplaces where bolder nail art might feel out of place.
Techniques for clean bare space
A negative space design depends on clean edges, because there is nowhere to hide a wobble. These are the main methods, from the most guided to the most freehand.
- : very thin adhesive strips that mask straight lines and geometric sections.
- Vinyl stencils: precut shapes such as half moons, triangles or waves that keep an area bare while you paint around it.
- Single dots: one dot placed with a dotting tool, often near the cuticle or close to the tip.
- Thin lines: drawn with a long striping brush, either straight or gently curved.
- Geometric shapes and half moons: blocks of colour that frame the bare areas around them.
All of them sit on a clear or sheer base, which gives the design a smooth, even surface. A refined extra is contrast of finish: a matte top coat next to glossy details makes even one line stand out, because the eye reads the change in texture as part of the design.
- Apply a clear or sheer base and let it dry completely, so the tape cannot lift it.
- Press the tape or stencil down firmly, paying close attention to the edges.
- Paint over the open areas with a thin coat of colour.
- Peel the tape away slowly while the polish is still slightly wet.
- Let the colour dry, then seal the whole nail with top coat.
Ideas to start with
If minimal nail art is new to you, choose one element and repeat it across the hand. A fine vertical line down the centre of each nail, a single dot at the base or a thin outline tracing the half moon all look polished with very little work.
Once you feel confident, combine shapes. Try a triangle of colour at the tip, a diagonal line with bare nail on one side, or a reverse half moon in a deep shade over a sheer pink base. Keep the palette tight. Two colours and plenty of bare nail almost always look more intentional than five.
Two colours and plenty of bare nail almost always look more intentional than five.
Colour choice changes the mood entirely. Black or deep navy lines on a clear base feel graphic and architectural, metallic accents read almost like jewellery, and soft nudes beside bare nail are nearly invisible from a distance, a detail meant more for the wearer than for the room. Whatever you choose, let the bare nail take up at least as much space as the colour.
Getting the details right
Because the bare nail is on show, its condition matters more than usual. Shape the nails evenly, push back or tidy the cuticles gently and make sure the surface is clean and dry before the base goes on. A smooth base makes clear areas look glossy and deliberate rather than unfinished.
Placement is the other secret. Decide where the design sits before you begin, and keep it consistent across all ten nails, or vary it with a clear rhythm. Negative space asks you to trust the nail itself, and done with care it looks considered, modern and entirely your own.
Glossary
- Negative space
- The unpainted or clear areas of a design, which become part of the composition rather than background.
- Lunula
- The whitish half moon at the base of the nail, the visible part of the nail matrix.
- Nail matrix
- The tissue beneath the skin at the base of the nail that produces the nail plate.
- Striping tape
- Very thin adhesive tape used to mask straight lines and geometric sections on the nail.
- Vinyl stencil
- A thin adhesive cut-out shape that keeps part of the nail bare while colour is applied.
Questions and answers
Is negative space nail art a good choice for short nails?
Yes, it is one of the best. Heavy, fully covered designs can make short nails look crowded, while a single line, a dot or a small geometric shape on a clear base keeps them light and well proportioned. The designs are also quick to paint and grow out discreetly, which suits short, practical nails.
Do I still need a base coat if parts of the nail stay bare?
Yes. The bare areas are usually covered with a clear or sheer base rather than left completely untreated. The base gives tape and stencils a smooth surface to sit on and helps the colour adhere. A top coat over the whole nail then seals the painted details and the clear areas alike.
How do I get crisp edges with striping tape?
Lay the tape only on a base that is fully dry, press the edges down firmly and paint a thin coat over the open areas. Peel the tape away slowly while the polish is still slightly wet, pulling it back at a low angle. Once everything is dry, seal the whole nail with top coat.